
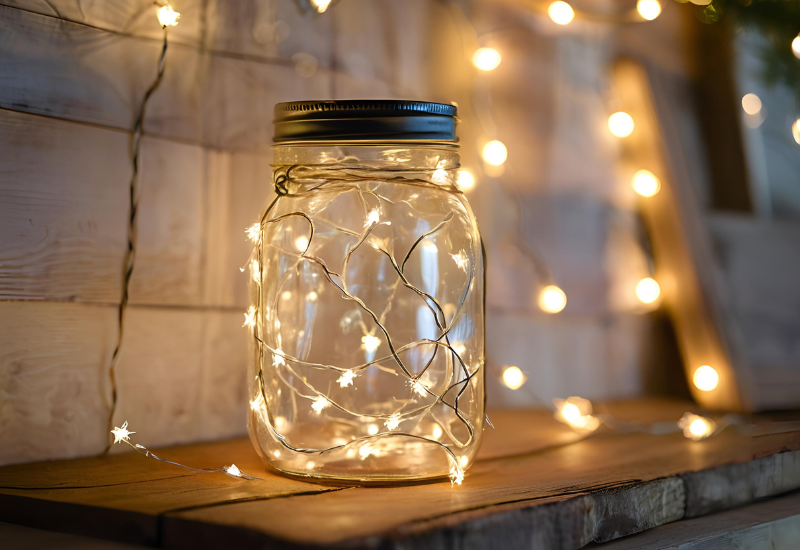
If you’re looking to add a warm, inviting glow to your home or garden, a DIY mason jar lantern is a charming and straightforward project that anyone can undertake. This guide will walk you through the steps to create your own lanterns using materials you likely have around the house, allowing you to illuminate your space without needing any coding or complex setups. Perfect for outdoor gatherings, parties, or simply to add a cozy atmosphere, these lanterns are not only functional but also a delightful decorative element.
Materials Needed
To get started on your DIY mason jar lantern, you’ll need the following materials:
- Mason Jars: Choose jars of various sizes to create a more visually interesting display. Regular-mouth or wide-mouth jars will both work well.
- LED Tea Light Candles: These are battery-operated and safe to use inside the jars. They mimic the warm glow of a real candle without the risk of fire.
- Wire (optional): For hanging lanterns, you can use floral wire or sturdy wire. This adds a rustic touch and makes it easier to hang your lanterns.
- Paint (optional): You can use acrylic paint or glass spray paint to customize the jars. Frosted or colored finishes can create unique lighting effects.
- Brushes or Sponges: If you decide to paint the jars, you’ll need these for application.
- Decorative Elements (optional): Ribbons, twine, or embellishments can be added to personalize your lanterns.
- Battery: Ensure you have fresh batteries for your LED tea lights.
Step 1: Preparing the Mason Jars
Before you start assembling your lanterns, it’s essential to prepare the mason jars:
- Clean the Jars: Make sure the jars are clean and free from labels or residue. You can soak them in warm soapy water to remove any sticky labels and then rinse them well.
- Customize Your Jars: If you choose to paint the jars, now is the time to do it. You can create a frosted look by applying a thin layer of paint using a brush or sponge. Alternatively, you can spray paint the outside of the jar for a more uniform finish. Let the jars dry completely before proceeding.
Step 2: Adding LED Tea Lights
Once your jars are ready, it’s time to add the LED tea lights:
- Insert the LED Tea Lights: Place one LED tea light inside each mason jar. If the candle is too large, you can choose smaller ones or even cut a larger candle down to size.
- Test the Lights: Before sealing everything, turn on the tea lights to ensure they work properly. This is also a great time to experiment with different jar arrangements.
Step 3: Optional Hanging Mechanism
If you want to hang your lanterns, adding a wire handle is simple and adds a lovely touch:
- Cut the Wire: Cut a length of wire about 18-24 inches long, depending on how high you want to hang your lantern.
- Create a Handle: Puncture two small holes opposite each other on the jar lid (if you’re using a lid). Alternatively, you can wrap the wire around the jar itself if you prefer a handle that doesn’t go through the lid.
- Secure the Wire: Insert the ends of the wire through the holes and twist them together, forming a handle.
Step 4: Adding Decorative Elements
Personalizing your lanterns makes them unique. Here are some ideas:
- Wrap Ribbons or Twine: Tie ribbons or twine around the neck of the jars for a rustic look. You can secure them with a knot or a decorative bow.
- Embellishments: Use stickers, paint pens, or stencils to add designs or quotes on the jar’s surface.
- Fill with Extras: If you want, you can add small decorative items inside the jars, such as pebbles, sand, or seasonal decorations, to enhance the overall appearance.
Step 5: Final Setup
Once your jars are decorated and ready, it’s time to set them up in your desired location:
- Indoor Use: Place the jars on windowsills, tables, or shelves to create a warm ambiance indoors.
- Outdoor Setup: Use them on patios, decks, or in your garden. If hanging, use hooks or tree branches to suspend the lanterns, allowing the light to shine through beautifully.
Step 6: Safety and Maintenance
While mason jar lanterns are generally safe, there are a few considerations to keep in mind:
- LED Safety: LED tea lights are safe and cool to the touch, reducing fire hazards compared to traditional candles.
- Weather Considerations: If you’re using your lanterns outdoors, ensure they are secured against wind and rain. You can bring them indoors if storms are expected.
- Battery Maintenance: Check the batteries regularly and replace them as needed to ensure your lanterns stay lit.
Creative Variations
There are countless ways to customize and expand on this basic DIY project:
- Seasonal Themes: Change the decorations according to the season. Use leaves and acorns for fall, flowers for spring, and snowflakes for winter.
- Color Schemes: Use colored LED tea lights or paint the jars in seasonal colors to create thematic displays.
- Grouping Lanterns: Create a collection of lanterns in various sizes and styles to make a more significant impact in your space.
- Different Jar Types: Experiment with various jars like beer bottles, wine bottles, or even glass vases for different aesthetics.
Creating DIY mason jar lanterns is an enjoyable and creative way to brighten up your home or outdoor spaces. With just a few materials and steps, you can craft beautiful lanterns that reflect your personal style while providing a lovely glow for any occasion. Whether you’re entertaining guests or enjoying a quiet evening at home, these lanterns are sure to enhance the atmosphere. Enjoy crafting your beautiful light sources and watch your spaces come to life!