
With the rise of smart home technology, creating your own DIY smart LED strip lighting system has never been easier or more fun. This project allows you to enhance the ambiance of any room in your home or workspace while saving money compared to purchasing pre-made solutions. You’ll be able to control the colors and brightness of your lights, set them to respond to music, and even automate them to turn on and off at specific times. In this article, we’ll guide you through the steps to create your very own smart LED strip lighting system without the need for coding or complex setups.
What You’ll Need
Before you begin your project, gather the following materials:
- LED Strip Lights: Choose a roll of RGB (red, green, blue) LED strip lights. Make sure they come with an adhesive backing for easy installation.
- Smart LED Controller: Look for a Wi-Fi-enabled controller compatible with your LED strips. Many options allow control via smartphone apps or voice assistants.
- Power Supply: Ensure you have a suitable power supply for your LED strips, usually 12V. Check the specifications of your LED strip to confirm the power requirements.
- Connectors: If necessary, get some connectors to join different lengths of LED strips together or to connect them to the controller.
- Mounting Accessories: Depending on where you plan to install the LED strips, you might need additional mounting brackets or clips.
- Scissors: For cutting the LED strips to the desired length.
- Smartphone: To install the app and control your LED lights.
Step 1: Planning Your Design
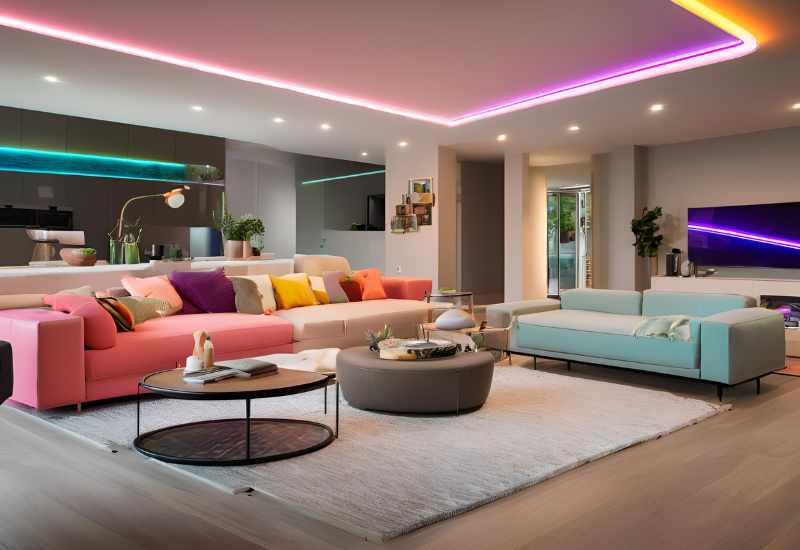
Before diving into installation, take some time to plan where you want to place your LED strips. Consider areas that could benefit from additional lighting, such as:
- Under Kitchen Cabinets: Create a soft glow that enhances your cooking space.
- Behind the TV: Reduce eye strain by adding ambient lighting behind your television.
- Along Shelves: Highlight your favorite books or decorative items.
- Around Windows or Doors: Frame your windows and doors for a dramatic effect.
Once you have decided on the locations, measure the lengths needed for each section. Most LED strips can be cut at designated points, so make sure to follow these guidelines.
Step 2: Preparing the LED Strips
Once you have your design planned, it’s time to prepare the LED strips for installation:
- Cut the Strips: Using scissors, cut the LED strips to the desired lengths. Be sure to only cut at the designated points marked on the strip.
- Test the Lights: Before installation, plug in the LED strips to ensure they work. This is a good time to check if the colors change and if all sections light up correctly.
Step 3: Installing the LED Strips
Now that your LED strips are prepared, it’s time to install them:
- Clean the Surface: Ensure the surfaces where you’ll place the LED strips are clean and dry. This helps the adhesive back of the strips stick better.
- Apply the Strips: Carefully peel off the adhesive backing and press the LED strips onto the surface. If your strips are longer than needed, consider using connectors to attach additional lengths without having to peel off and reapply.
- Secure with Mounting Accessories: If the adhesive doesn’t seem strong enough for your application, use mounting clips or brackets to secure the strips.
Step 4: Connecting to the Smart LED Controller
With the strips in place, it’s time to connect them to the smart controller:
- Connect the LED Strips: Follow the manufacturer’s instructions to connect your LED strips to the smart controller. This usually involves plugging the strip into the designated input on the controller.
- Attach the Power Supply: Connect the power supply to the controller, ensuring it is compatible with your LED strips and controller.
- Set Up the App: Download the appropriate app for your smart LED controller on your smartphone. Follow the app instructions to connect it to your home Wi-Fi network.
Step 5: Customizing Your Lighting
Now that everything is set up, it’s time to customize your lighting:
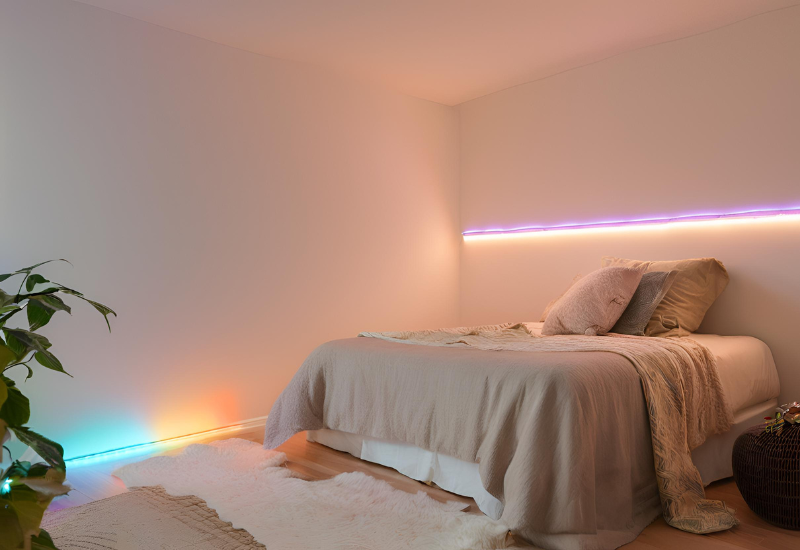
- Choose Colors and Brightness: Use the app to select your desired colors and adjust the brightness. RGB LED strips allow you to mix colors to create the perfect ambiance.
- Create Scenes: Many apps let you create custom lighting scenes. Experiment with different colors and brightness levels to find your favorites.
- Set Timers and Schedules: You can set your lights to turn on and off at specific times. This feature is excellent for home security, as it can make your home appear occupied when you’re away.
Step 6: Explore Advanced Features
If you’re feeling adventurous, explore additional features that many smart LED systems offer:
- Music Sync: Some controllers allow your lights to change colors or pulse in sync with music. This is a great way to enhance parties or gatherings.
- Voice Control: If your smart controller is compatible with voice assistants like Amazon Alexa or Google Assistant, you can control your lights with voice commands.
- Geofencing: Some apps enable geofencing, allowing your lights to turn on or off based on your location. This is particularly useful for automatic lighting when you arrive home.
Step 7: Maintenance and Troubleshooting
To keep your DIY LED lighting system running smoothly:
- Regularly Clean the Lights: Dust can accumulate on LED strips, so clean them gently with a soft cloth.
- Check Connections: Ensure all connections remain secure, especially if you’ve moved furniture or made changes to your setup.
- Replace Faulty Components: If any sections of your LED strips fail to light up, check for any damaged sections or loose connections.
Safety Considerations
While this project is relatively safe, keep these tips in mind:
- Avoid Overloading: Ensure that your power supply is appropriate for the number of LED strips you are using. Overloading can lead to overheating and potential fire hazards.
- Use Proper Ratings: When selecting connectors and power supplies, make sure they are rated for the current and voltage specifications of your LED strips.
- Install in Dry Areas: Keep your LED strips away from moisture to prevent short-circuiting and other issues.
Creating a DIY smart LED strip lighting system is an enjoyable project that can dramatically enhance your living space. With just a few materials and straightforward steps, you can achieve professional-quality lighting that not only brightens your home but also allows for endless customization and control. Enjoy your new lighting setup, and let your creativity shine!